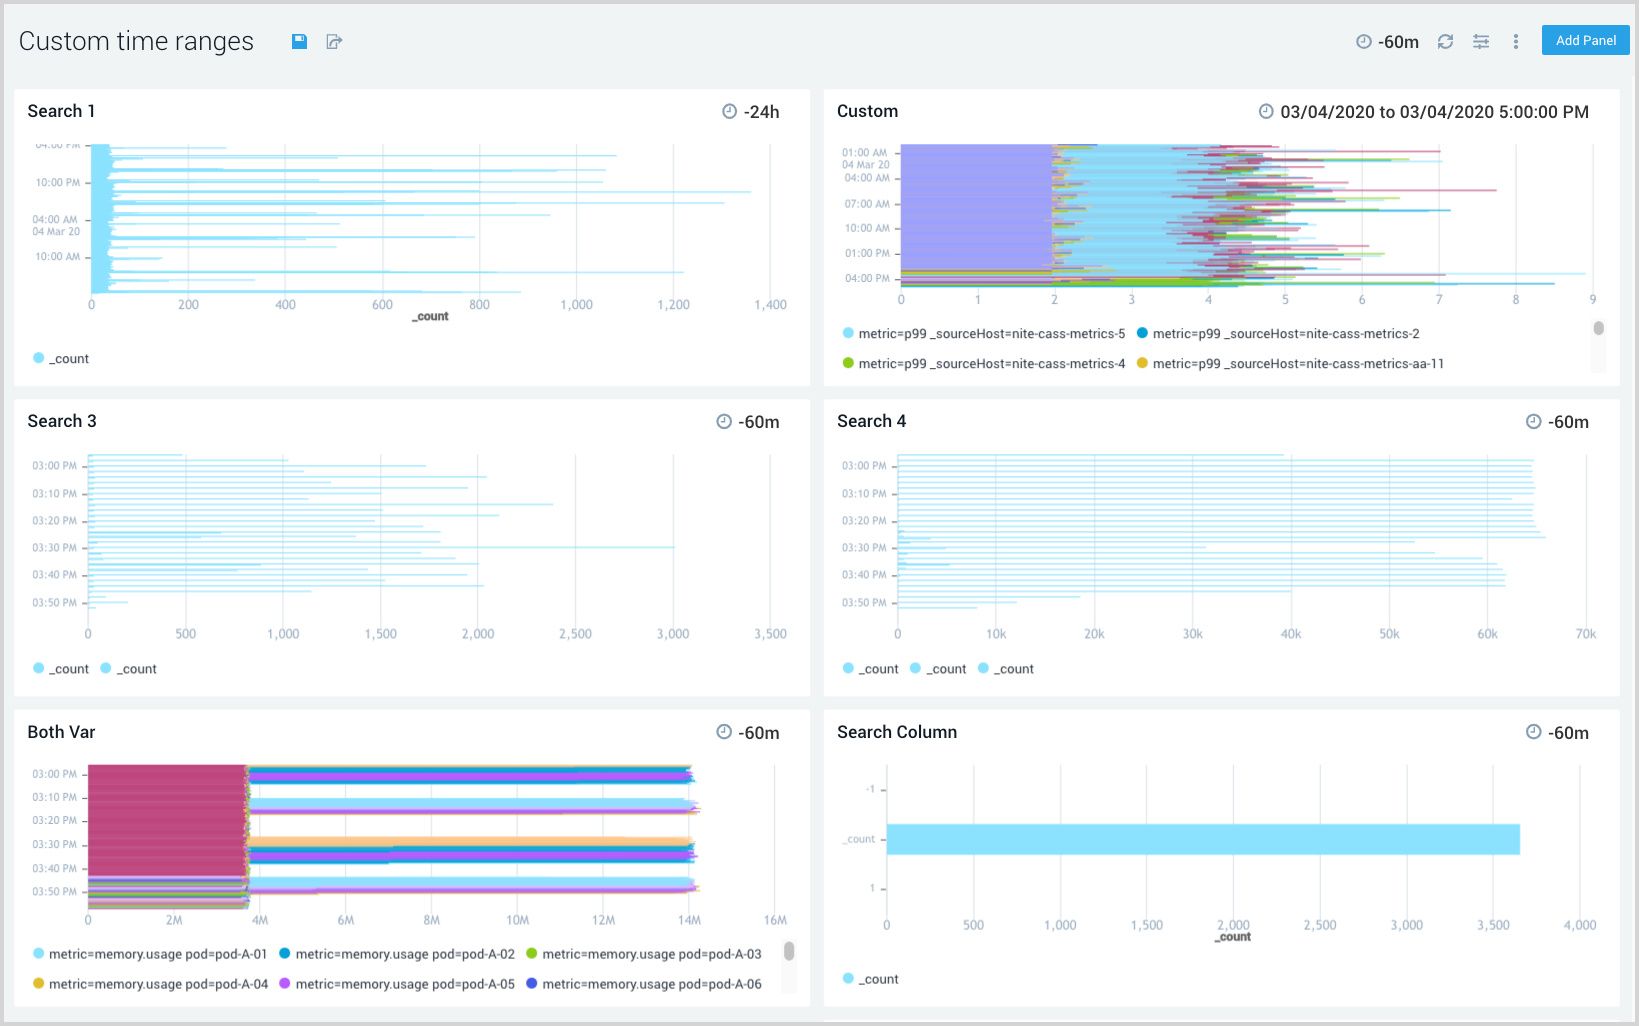
Set Customized Time Ranges
A new dashboard has a preset default time range for its panels and the dashboard as a whole. You can choose to customize the time range for individual panels, as well as setting a new time range for the dashboard. It's important that you review the time range override guidelines to ensure you achieve your expected results.
Time range override guidelines
The following guidelines apply to customized time ranges for panels and a Dashboard (New) as a whole:
- A customized time range for a panel persists until you once again change the setting.
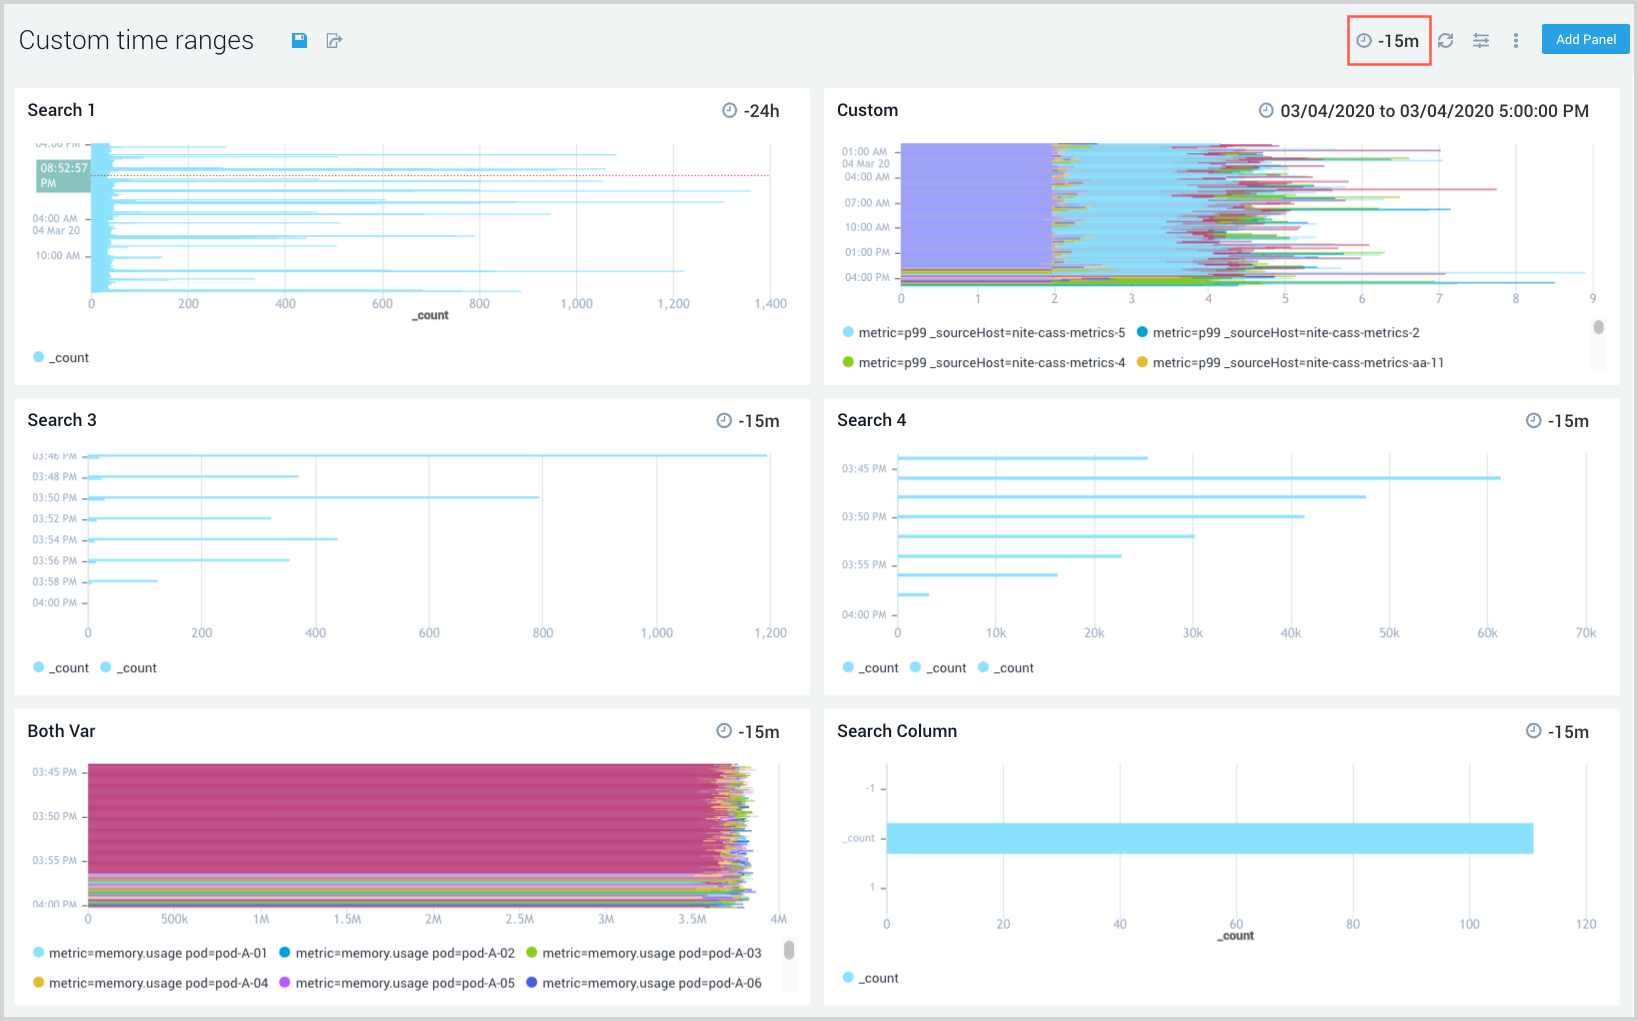
- A customized time range for a dashboard is only applied to panels that don't have customized time ranges. Panels with customized time ranges will maintain their customized setting.
Specify the time range for a panel
You can set the time range for a panel by selecting a predefined interval from a drop-down list, or by specifying custom dates and times for the interval.
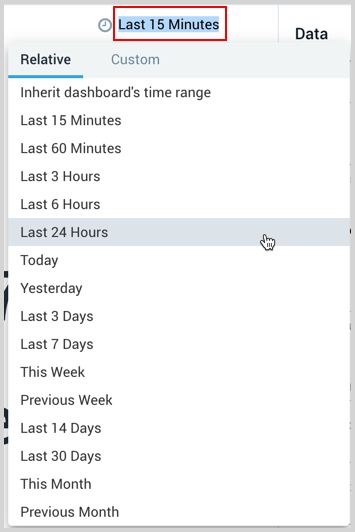
To select a predefined time interval for a panel, do the following:
Navigate to the dashboard in Sumo Logic.
In the panel you want to customize, click the time display next to the clock icon in the upper right corner.
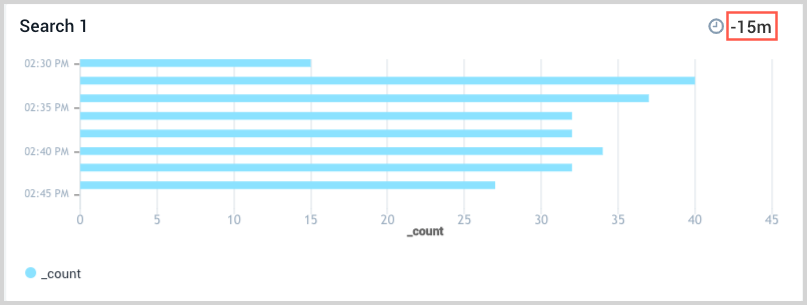
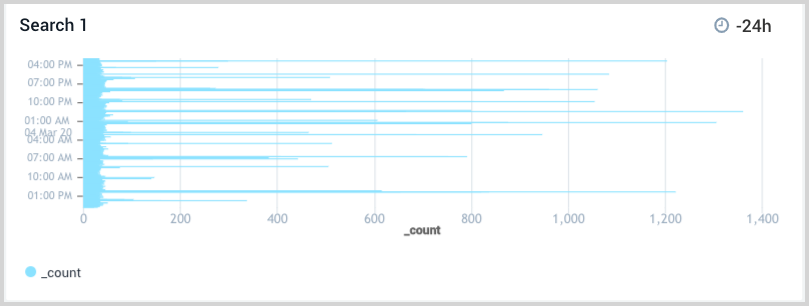
Select the desired time interval from the drop-down list. In our example, we selected 24 hours as the new time range.
The panel updates automatically to display the analytics for the newly specified time range.
To specify a custom time interval for a panel, do the following:
Navigate to the dashboard in Sumo Logic.
In the panel you want to customize, click the time display next to the clock icon in the upper right corner.
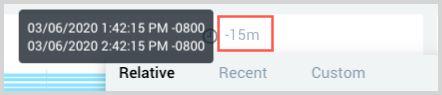
Click the Custom tab in the dialog, select start and stop dates on the calendar, and then specify start and stop times.

Likewise, you can specify a custom time range for a single day.
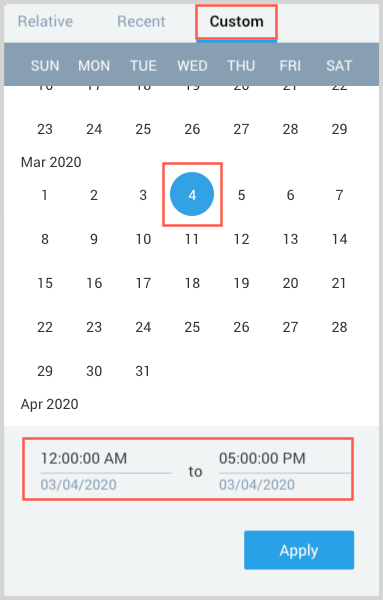
Click Apply.
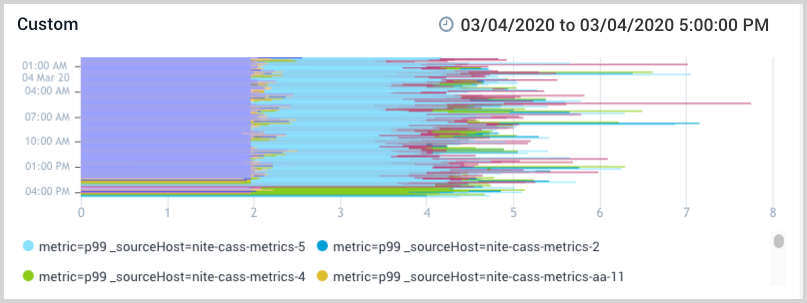
The panel updates automatically to display the analytics for the newly specified time range.
Inherit dashboard time range
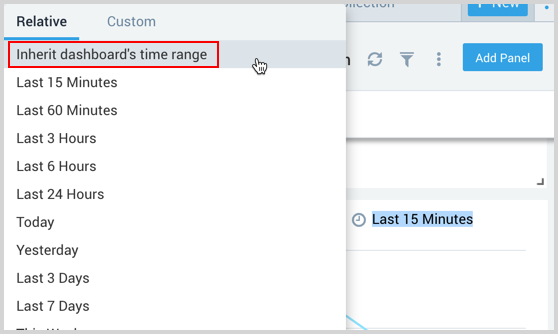
You can set panels to use the time range of the dashboard. You can manually select the Inherit dashboard's time range option or simply delete your existing time range setting.
To manually select the option, click the time range setting on the panel
and select the Inherit dashboard's time range option.
Delete method
With the cursor still in the time range field, press Delete then press Return to apply deletion. The time range automatically reverts to use the Dashboard time range.
Specify the time range for the dashboard
You can specify a time interval for a dashboard as a whole, and the changes are applied to all the panels on the dashboard that don't have customized time range settings.
Panels with customized time range settings can't be overridden by a dashboard-level time range. Panels with customized time ranges maintain their customized setting .
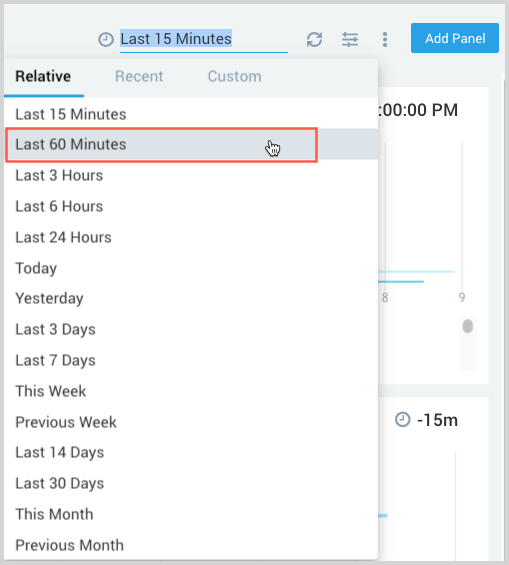
To specify a dashboard-level time range setting, do the following:
In the upper right corner of your Sumo Logic dashboard, click the time display next to the clock icon.
Do one of the following:
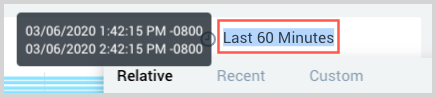
- Select the desired time interval from the drop-down list. In our example, we selected 60 minutes as the new time range.
- Click the Custom tab in the dialog, select start and stop dates on the calendar, then specify start and stop times and click Apply.
Dashboard panels that don't have customized time intervals update to reflect the dashboard-level time range.