Use Filters in Dashboards
Filters allow you to control the amount of information displayed in your dashboards.
You can apply filters in Live Mode, but you must leave Live Mode to be able to modify filter values.
Apply Dashboard filters
When you add a filter to a dashboard, the filter is applied to all the panels in the dashboard that contain that field.

If you click the Filter icon for a specific panel, all the filters that don’t apply to that panel are hidden.
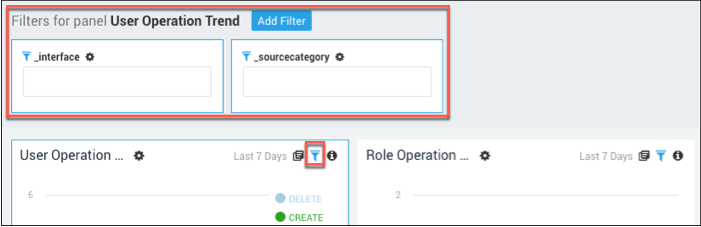
If you add a filter to a specific panel by clicking the Filter icon for the panel and then clicking Add Filter, the filter you select is added to the dashboard and linked to that specific panel. If you change the value, it will affect only the panel that's linked to it. See Create a filter.
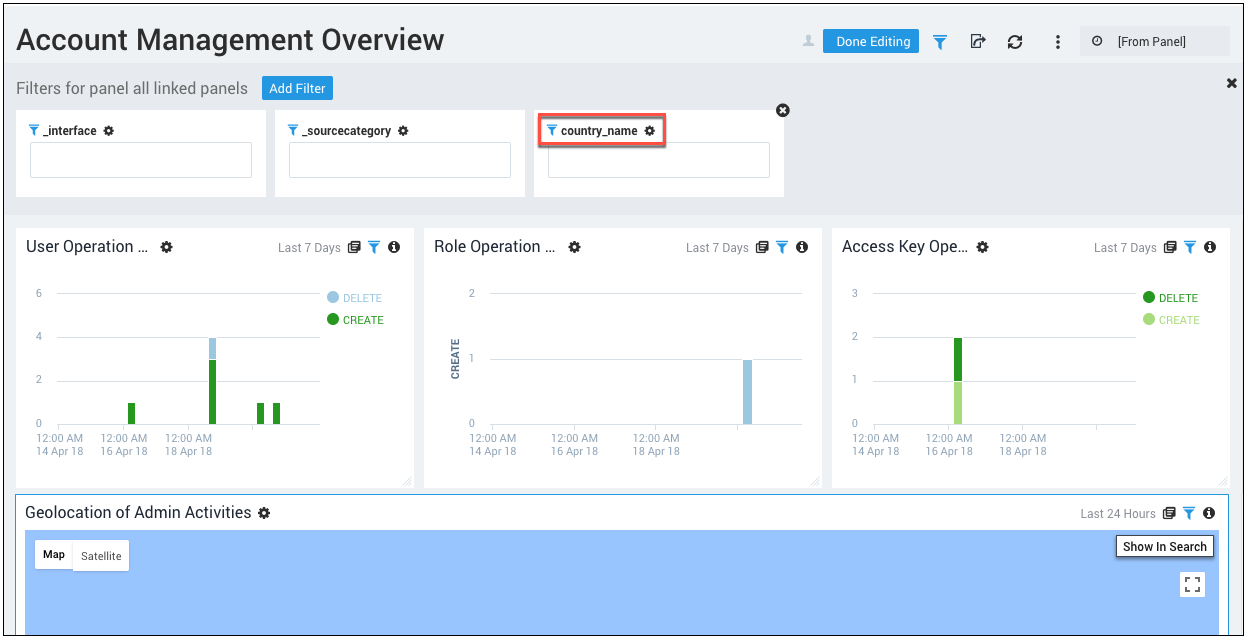
To see which panels are linked to a filter, hover over the blue filter icon in the filter box. In the following example, you can see that the country_name filter applies to the Geolocation of Admin Activities panel, but not the User Operation... or Role Operation... Panel, because when hovering over the icon for the logger filter, the Geolocation of Admin Activities panel shows a light blue border but the User Operation... Panel does not.
Autocomplete is available for these filters when you create them. Suggested values come from the most recent run of the search.
Create a filter
Dashboard owners can add filters in Edit mode. Created filters can be viewed (non-edit mode) by the dashboard owner and, if the dashboard is published, by other users. Filters must be added be added to be visible on the Dashboards page.
On the Dashboard page, click Edit
 .
.Click the Filter icon
 at the top of the page or for a specific Panel to display the add filter area.
Click Add Filter.

The Add Filter dialog lists the available filters. Filters that are recommended based on the Dashboard searches are listed first, followed by all of the other available filters.
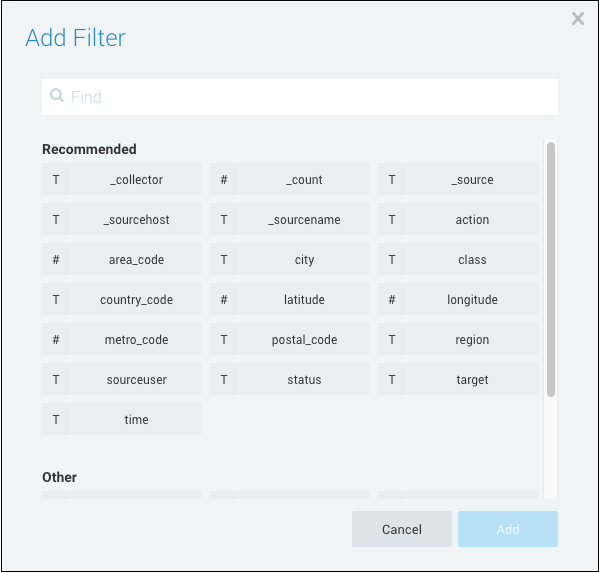
Click a filter to select it.
- Filters in the list are identified with a T (text) or # (numeric) label. After adding numeric filters, you can restrict the range to display in the dashboard using the operators
=,!=, >, \<, >=, or, \<=. - If you started creating the filter by clicking the Filter icon at the top of the page (not for a specific panel), you can add only one filter at a time. Click Add to add the filter. To add additional filters, click the Add Filter button again. The new filter is linked to all applicable panels.
- If you started creating the filter by clicking the Filter icon for a particular panel, you can add multiple filters at one time in the Add Filter dialog. When you select a filter to add, it is moved to the Selected area. Add additional filters as needed, and then click Add.
- To find specific filters in the Add Filter dialog, enter a search string in the Find area and press Return.
- Filters in the list are identified with a T (text) or # (numeric) label. After adding numeric filters, you can restrict the range to display in the dashboard using the operators
After selecting filters, click Add to add the filters and return to the dashboard.
The filter or filters are now displayed. You can click Add Filter again to add more filters to the Panel or Dashboard level. If you selected a numeric filter, you can select a range from the drop-down list to restrict the values to display.
The filter is now ready to be used.
Filters are added and appear in alphanumeric order, with special symbols coming first.
Use filters
To use filters, enter values in the filter text boxes and press Return to show the panel or panels with the filter applied.
If you selected a numeric filter, you can select a range from the drop-down list to restrict the values to display.
You can use the * wildcard for non-numeric fields, but the use of wildcards can slow down filtering, so use them only if needed.
When new filters are added or removed, the panel might load slowly as optimizations are performed in the background. This is only temporary, and is done to improve the panel’s performance in subsequent uses.
Autocomplete for filters
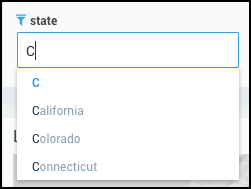
Autocomplete for dashboard filters lets your Sumo metadata or parsed fields be available as suggested options from filter drop-down menus. These suggestions are based on values in your most recent search. Your dashboard users can more easily find information while troubleshooting or exploring information because input choices are readily available for the filter. Autocomplete suggests available options to them in an alphabetized list as they type and provides the first set of values when they enter their cursor into the field.
In the example, C is the only letter entered, but recent searches have provided California, Colorado, and Connecticut as auto complete suggestions for this filter and the user can choose if any of these values are desired.
If you create a filter, it can take a few minutes to populate the drop downs while the search behind the dashboard runs. If the filters have been in place on your dashboard, it should already have autocomplete values in place. Delays in autocomplete values may occur if it's been a hile since you've last viewed the dashboard or run any searches.
Change filter settings
You can change some properties of a filter.
On the Dashboard page, click the Edit toggle.
Click the Filter icon
, if necessary, to display the Add Filter area.Click the Settings icon for the filter you want to modify.

The Filter Settings dialog box opens to show the General settings.
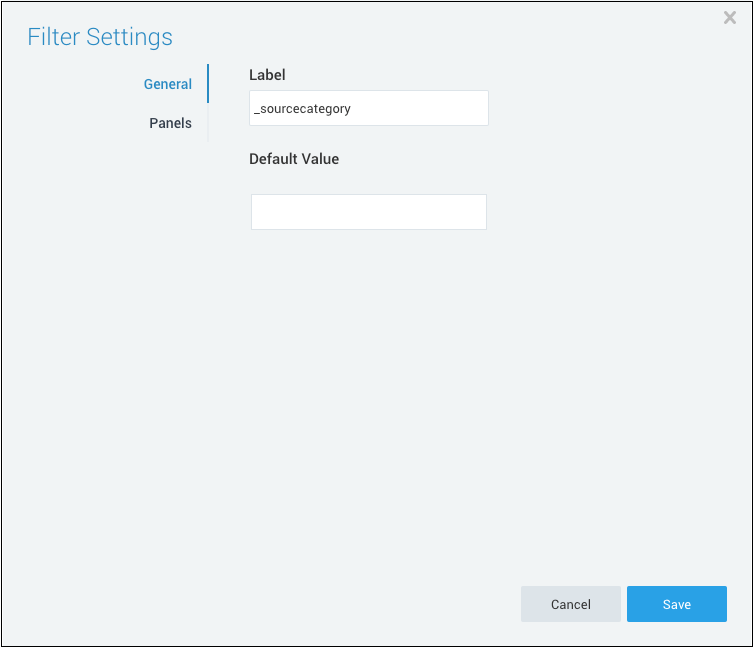
Modify the label if needed, and any additional parameters. The specific parameters depend on the type of filter.
Click Panels to select panels that will be subject to the filter. By default, all panels that can support the filter are selected (with check marks). Click to deselect any panels. A deselected panel is shown with a + symbol, which you can click to re-select.
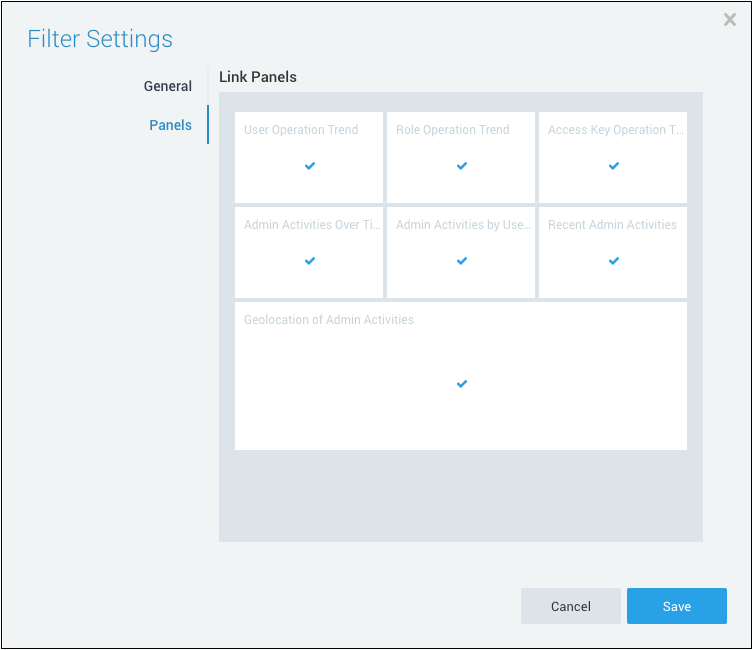
Click Save to apply the changes.
Delete a filter
Dashboard owners can delete a filter by hovering over the filter and clicking the X icon in the upper right corner of the filter as it’s displayed at the top of the dashboard. After deleting a filter, you must refresh the page for the change to take effect. Deleting a filter deletes it from all panels.
