Symantec Proxy Secure Gateway
This page has instructions for collecting Symantec Proxy Secure Gateway (ProxySG) log messages as comma separated values (CSV) and sending them to Sumo Logic to be ingested by CSE. While this document shows how to configure and ingest logs as CSV, CSE also supports Common Event Format (CEF) ProxySG logs.
CSE supports collection either from a file or using syslog. Instructions for syslog are included in this document.
Supported fields
Sumo Logic CSE supports the following Proxy Secure Gateway logging fields:
dt,time,c-ip,cs-username,x-exception-id,sc-filter-result,cs-categories,cs-referer,sc-status,proxy_cache_code,cs-method,cs-content-type,cs-protocol,cs-host,cs-uri-port,c-uri,cs-uri-query,cs-uri-extension,cs-user-agent,s-ip,sc-bytes,cs-bytes,x-bluecoat-access-type,x-bluecoat-application-name,r-ip
Step 1: Configure collection
In this step, you configure a Syslog Source to collect ProxySG log messages. You can configure the source on an existing Installed Collector or create a new collector. If you’re going to use an existing collector, jump to Configure a Syslog Source below. Otherwise, create a new collector as described in Configure an Installed Collector below, and then create the Syslog Source on the collector.
Configure an Installed Collector
In the Sumo Logic platform, select Manage Data > Collection > Collection.
Click Add Collector.
Click Installed Collector.
The Add Installed Collector popup appears.
Download the appropriate collector for your operating system.
Install the collector. Instructions for your preferred operating system and method of installation are available on the Installed Collectors page.
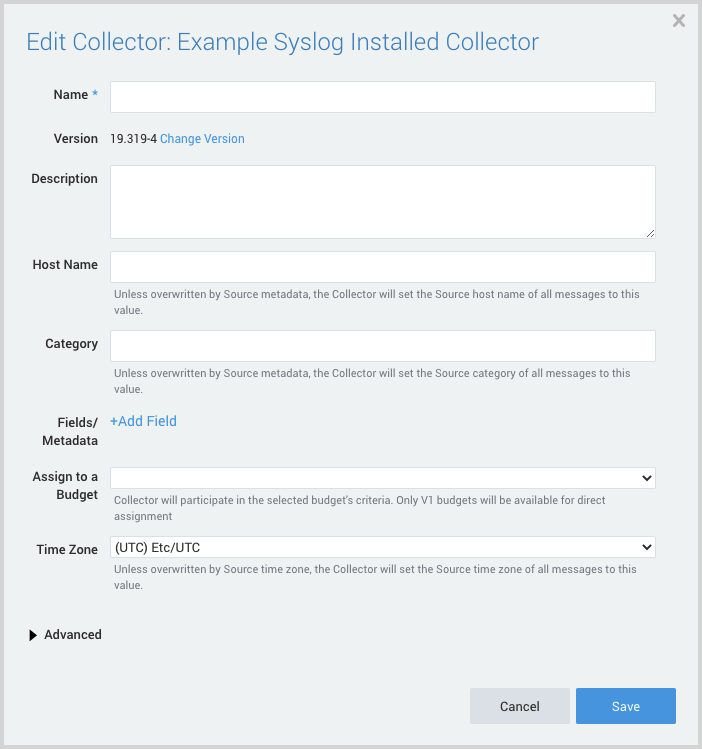
Once the collector is installed, confirm it is available on the Collection page and select Edit.
The Edit Collector popup appears.

Name. Provide a Name for the Collector.
Description. (Optional)
Category. Enter a string to tag the output collected from the source. The string that you supply will be saved in a metadata field called
_sourceCategory.Fields.
- If you are planning that all the sources you add to this collector will forward log messages to CSE, click the +Add Field link, and add a field whose name is
_siemForwardand value is true. This will cause the collector to forward all of the logs collected by all of the sources on the collector to CSE. - If you are planning that all sources you add to this collector will use the same log parser (if they are the same type of log), click the +Add Field link, and add a field whose name is
_parserwith the value /Parsers/System/Blue Coat/Blue Coat ProxySG CSV. This will cause all sources on the collector to use the specified parser. :::note It’s also possible to configure individual sources to forward to CSE, as described in the following section. :::
- If you are planning that all the sources you add to this collector will forward log messages to CSE, click the +Add Field link, and add a field whose name is
Click Save.
Configure a Syslog Source
- In the Sumo Logic web app, select Manage Data > Collection > Collection.
- Navigate to the Installed Collector where you want to create the source.
- On the Collectors page, click Add Source next to an Installed Collector.
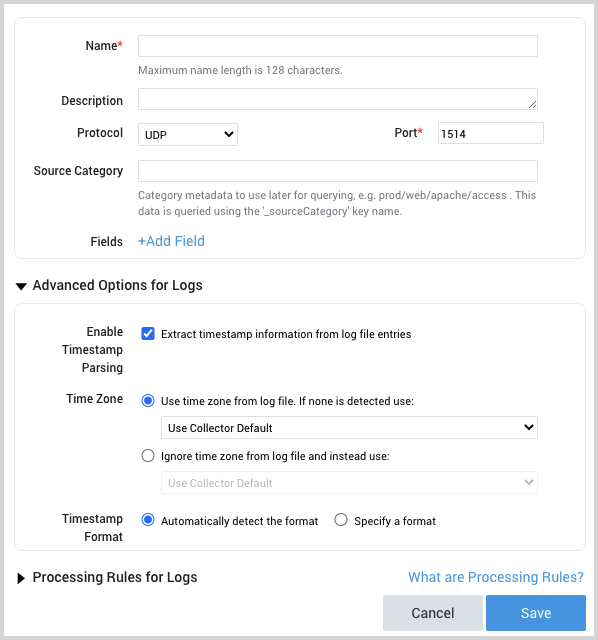
- Select Syslog.
- The page refreshes.

- Name. Enter a name for the source.
- Description. (Optional)
- Protocol. Select the protocol that your syslog-enabled devices are currently using to send syslog data, UDP or TCP. For more information, see Choosing TCP or UDP on the Syslog Source page.
- Port. Enter the port number for the Source to listen to. If the collector runs as root (default), use 514. Otherwise, consider 1514 or 5140. Make sure the devices are sending to the same port.
- Source Category. Enter a string to tag the output collected from the source. The string that you supply will be saved in a metadata field called
_sourceCategory. Make a note of the source category. You’ll supply it in Step 2 below. - Fields.
- If you have not configured the Installed Collector to forward all sources in the collector to CSE, click the +Add Field link, and add a field whose name is
_siemForwardand value is true. - If you have not configured the Installed Collector to parse all sources in the collector with the same parser, click the +Add Field link, and add a field whose name is
_parserwith the value /Parsers/System/Blue Coat/Blue Coat ProxySG CSV.
- If you have not configured the Installed Collector to forward all sources in the collector to CSE, click the +Add Field link, and add a field whose name is
- Click Save.
Step 2: Configure Symantec Proxy Secure Gateway
Instructions for Sending Access Logs to a Syslog server are available on the Broadcom knowledge site.
Step 3: Verify Ingestion
In this step, you verify that your logs are successfully making it into CSE.
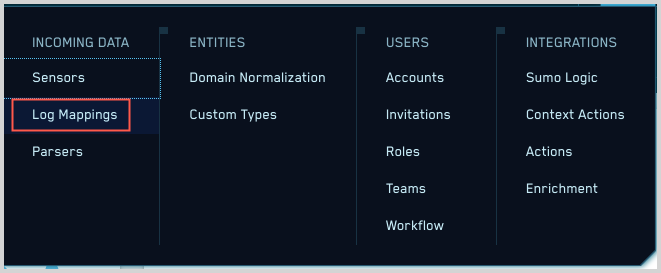
- Click the gear icon at the top of the CSE UI, and select Log Mappings under Incoming Data.

- On the Log Mappings page search for "ProxySG" and check under Record Volume. A list of mappers for ProxySG Syslog will appear and you can see if logs are coming in.

- For a more granular look at the incoming records, you can also search the Sumo Logic platform for Proxy Secure Gateway security Records.
