SentinelOne
This page has instructions for collecting SentinelOne log messages and sending them to Sumo Logic to be ingested by CSE.
Step 1: Configure collection
In this step, you configure a Cloud Syslog Source to collect SentinelOne log messages. You can configure the source on an existing Hosted Collector or create a new collector. If you’re going to use an existing collector, jump to Configure a Cloud Syslog Source below. Otherwise, create a new collector as described in Configure a Hosted Collector below, and then create the Cloud Syslog Source on the collector.
Configure a Hosted Collector
- In the Sumo Logic Platform, select Manage Data > Collection > Collection.
- Click Add Collector.
- Click Hosted Collector.
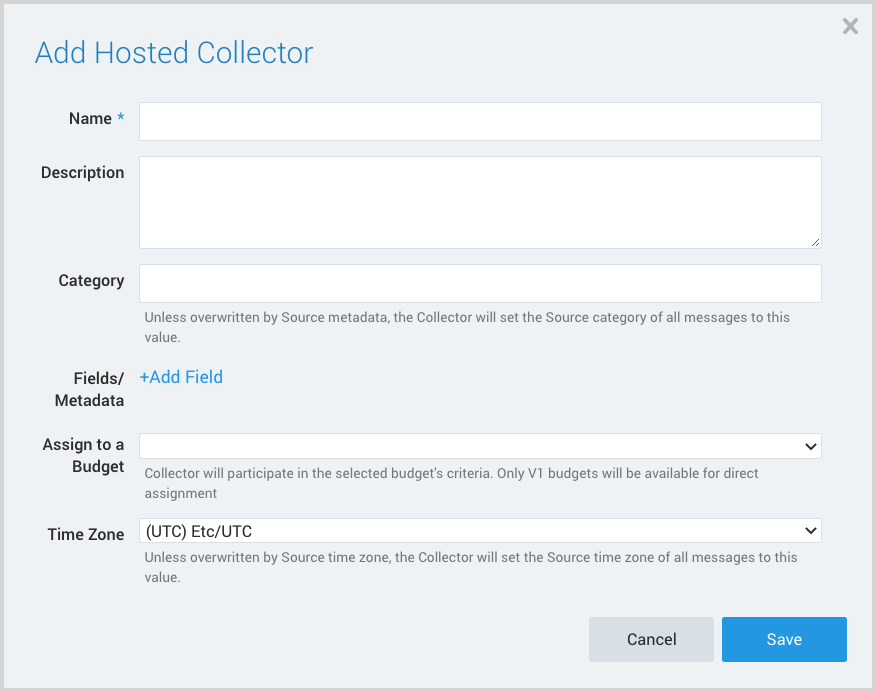
- The Add Hosted Collector popup appears.

- Name. Provide a Name for the Collector.
- Description. (Optional)
- Category. Enter a string to tag the output collected from the source. The string that you supply will be saved in a metadata field called
_sourceCategory. - Fields.
- If you are planning that all the sources you add to this collector will forward log messages to CSE, click the +Add Field link, and add a field whose name is
_siemForwardand value is true. This will cause the collector to forward all of the logs collected by all of the sources on the collector to CSE. - If all sources in this collector will be Sentinel One sources, add an additional field with key
_parser; set the value to:- /Parsers/System/SentinelOne/SentinelOne CEF if your logs are in CEF format.
- /Parsers/System/SentinelOne/SentinelOne Syslog if your logs are in Syslog format.
- If you are planning that all the sources you add to this collector will forward log messages to CSE, click the +Add Field link, and add a field whose name is
Configure a Cloud Syslog Source
- In the Sumo Logic web app, select Manage Data > Collection > Collection.
- Navigate to the Hosted Collector where you want to create the source.
- On the Collectors page, click Add Source next to the Hosted Collector.
- Select Cloud Syslog.
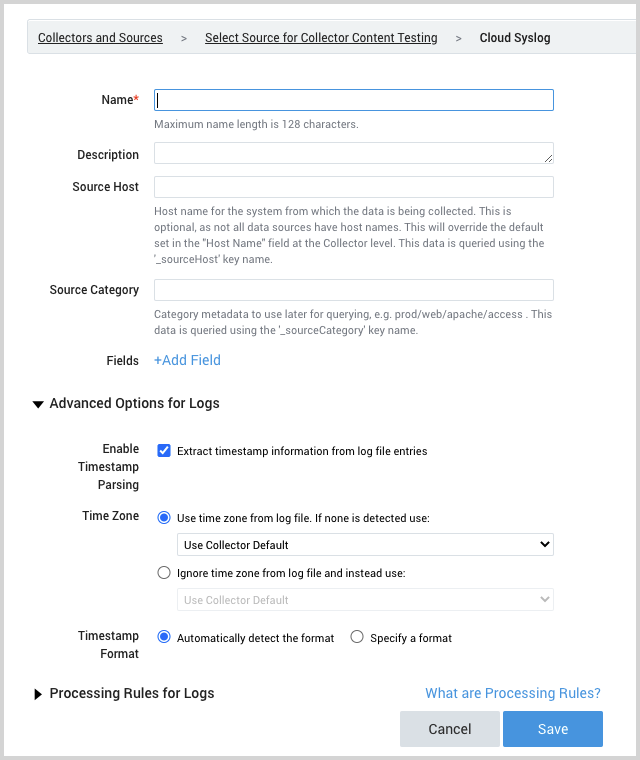
- The page refreshes.

- Name. Enter a name for the source.
- Description. (Optional)
- Source Host. (Optional) Enter a string to tag the messages collected from the source. The string that you supply will be saved in a metadata field called
_sourceHost. - Source Category. Enter a string to tag the output collected from the source. The string that you supply will be saved in a metadata field called
_sourceCategory. Make a note of the source category. You’ll supply it in Step 2 below. - Fields.
- If you have not configured the Installed Collector to forward all sources in the collector to CSE, click the +Add Field link, and add a field whose name is
_siemForwardand value is true. - If you have not configured the collector to parse all sources in the collector with the same parser, click the +Add Field link, and add a field whose name is
_parser; set the value to:- /Parsers/System/SentinelOne/SentinelOne CEF if your logs are in CEF format.
- /Parsers/System/SentinelOne/SentinelOne Syslog if your logs are in Syslog format.
- If you have not configured the Installed Collector to forward all sources in the collector to CSE, click the +Add Field link, and add a field whose name is
- Click Save.
- Make a note of the Token and Host that are displayed. You’ll supply them in Step 2 below.
Step 2: Configure SentinelOne
In this step you configure SentinelOne to send log messages to the Sumo Logic platform. If you have a SentinelOne account, you can follow directions on the SentinelOne Support knowledge base, or the instructions in Step 2 of Collecting Logs for SentinelOne topic.
Step 3: Verify ingestion
In this step, you verify that your logs are successfully making it into CSE.
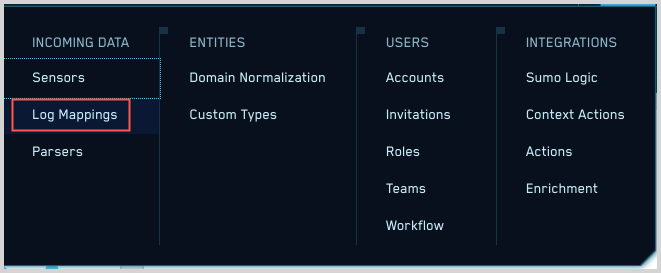
- Click the gear icon, and select Log Mappings under Incoming Data.

- On the Log Mappings page search for "SentinelOne" and check under Record Volume.

- For a more granular look at the incoming records, you can also use the Sumo Logic platform to search for SentinelOne security records.
